
Lemmings DS Builder
Mathew Carr
Let's Make a Level! - 06/09/06
When making a Lemmings DS level, there's a number of key things that you have to do:
After you've done all of that, you need to do two very important final things:
Planning your level out!
Planning is essential if you're to make a level that's going to work well. In this tutorial, I'm going to make the following level:

The Lemmings come out of the lower entrance, smash their way through one of the pillars to the sides and then build a path to the exit up above. The Lemmings can't bash through the purple or the blue bricks.
Let's begin!
How do I import my level pieces?
Firstly, you need to have your level pieces ready. Lemmings DS Builder will only accept 16 or 256 colour BMP files.

Here's the piece that I'm going to import for this example. In the top left is the piece by itself, below that is what the piece looks like looped. On the right is a zoomed in example of the piece, and across the bottom is the piece's palette. Notice that I've marked out colour 0 as the transparent colour, even though this piece does not have any transparent areas.
To import this piece together with its palette, hold right mouse button and left click on the Import 16 Img button on the UPPER panel.

After that, you'll be prompted to specify the location of the BMP file. After the file has loaded, you'll be asked which line of the palette you want to replace with the palette from this piece.
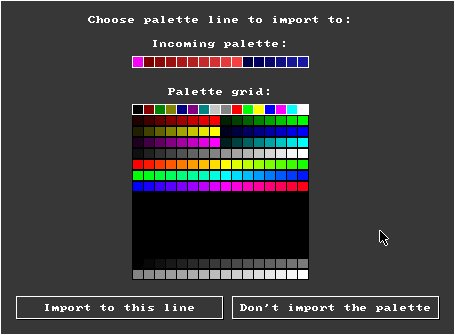
For this example, let's replace the first line of the palette.
Head to the Palette Editor page to check that this palette has successfully been imported.
Remember that you don't have to import the palette if you don't want to. Many piece sets are designed so that you can use the same palette (and usually the same mapping) for multiple pieces.

Go back to the Texture Selection page and select the Custom 16 page. Lets see if our new piece is in the database.
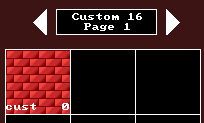
There it is!
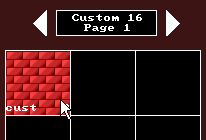
Click on it with the left mouse button to put it as the ready texture. Now, we're ready to draw some scenery!
How do I build scenery?
Building a level with Lemmings DS Builder is easy. First, you have to choose what texture you want to make new level texture objects with.
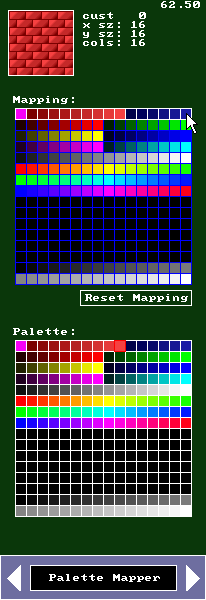
Then, go to the Palette Mapper page to configure what colours you want to use.
Then, click New Cur Texture on the LOWER panel.

After that, drag out a box on the LEVEL pane.
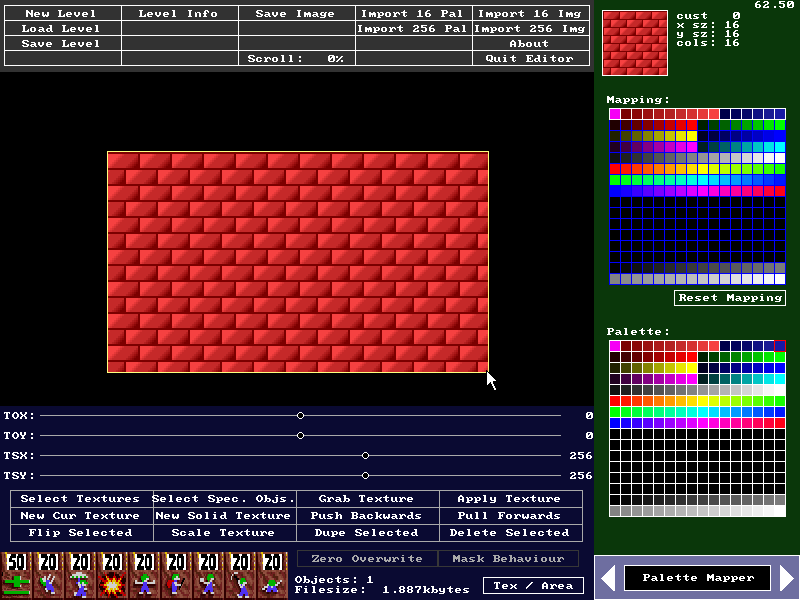
Make more textures and move them into the correct position using the various tools.
Change the colour of new pieces by using the Palette Mapper.

Okay, so it's not the best looking level in the world, but it'll do. Notice how I used the built in pillar texture on the Standard 16 page to make the columns. You can download the level so far here.
Practice makes perfect when using the level texture object tools, so stick at it. Remember you can copy the style of an existing object to ready using Grab Texture, and copy the style back from ready using Apply Texture. You can manipulate the order of objects using the Pull Backwards and Push Forwards tools: don't worry about being messy, just cover it up and make it look neat!
Take note of the Scroll position on the UPPER panel. It says Scroll: 0%, which means that this level is currently at the far left edge of the Lemmings level. (They're flat, and very wide) This won't make much difference, but it's usually neater to put the main scenery in the centre of the level.
How do I place special objects?
Head to the Special Objects tab.
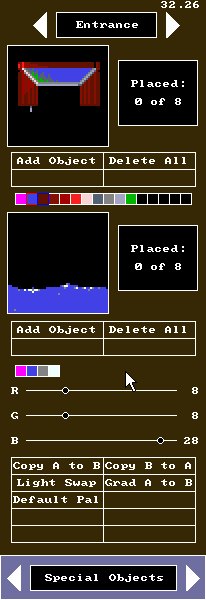
To make a new entrance, click on the Add Object tool, next to the picture of the entrance. Then, click and hold on the level where you want the entrance to appear.
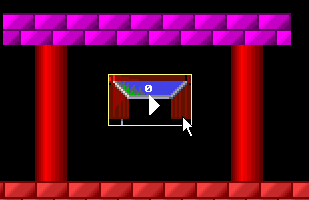
While the entrance is selected, you can flip it to the correct direction (it doesn't matter, but we should stick to the plan) using the Flip Selected tool.
Use the arrows next to the 'entrance' caption on the Special Objects tab to change between different special objects. Let's place the exit at the top of that purple platform.
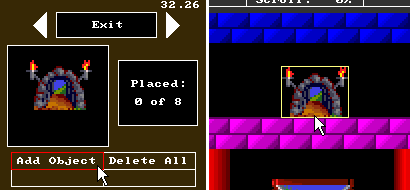
At this point, we could, if we wanted, change the colour of the entrance and the exit... try that yourself later. If it all goes horribly wrong, you can restore the palettes of any special object with the Default Pal button.
Also, the level is now playable! You could combine this level with Lemmings DS right now, and play it. You might run out of Builders, though... plus the platform won't be indestructable, and the level targets will be all messed up. You can download the level as it stands here.
How do I set up steel and one way areas?
Setting up steel and one way areas is a snap. It's just like placing level texture objects.
First, let's switch to the Area Setup page. Click the Tex/Area button on the LOWER panel.
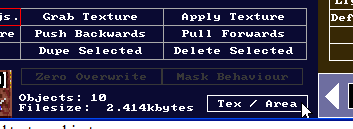
The tools on the LOWER panel should change into the Area Setup tools.
Areas are only visible or editable on when the LOWER panel is set to Area Setup. Areas appear as grey (for steel) or green (for oneway) rectangles with an X across their length.
To make a new steel or one way area, click on the New Steel Area or New Oneway Area buttons on the LOWER panel.

The way areas work in Lemmings DS is very simple: any piece of tangible scenery that is inside an area will be affected by that area. If you made a steel area that surrounded a single brick, that one brick would be indestructible. If you made one that surrounded the entire level, the entire level would be indestructible.
One way areas are special in that they can be damaged by Lemmings if they're facing the correct direction. The direction that Lemmings must face to alter one way areas is shown by a green arrow in the middle of the area bounds.
According to the plan, the blue border bricks need to be indestructible, together with that purple platform. Let's make steel areas across the top, bottom, left and right sides of the level, and a final one on the purple platform. Click New Steel Area and drag the box.
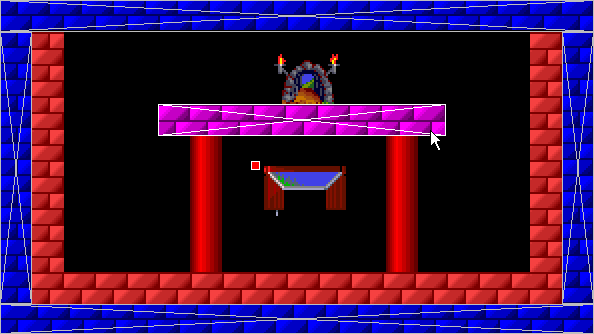
Alright! Now the blue and purple bricks are indestructible. Be aware when creating areas that it is possible to overlap two areas, and it's possible for areas to cross over into scenery which you want to be destructible by accident! Be careful when scaling areas to make sure that they don't go into scenery you don't want to be indestructible.
If we had any one way areas, we could make them now... but we don't.
How do I reposition the camera focus?
See that small red box? That's the initial camera focus for this level. When the level begins, the camera will automatically be moved so that this point is in the centre of the screen.
To move it, click Reposition Focus on the LOWER panel while in Area Setup, and click and drag as if you were placing a special object.
It's not visible ingame, let's position it over the entrance.
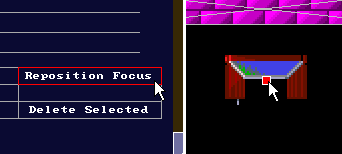
How do I allocate the number of Lemming tools?
Simply hold left or right mouse button on the Lemming tool icons in the LOWER panel to change how many of each tool the player is allowed to use.
![]()
How do I set the level information?
Click on the Level Info button on the UPPER panel to display the Level Information dialog. Simply type in the level name and the values that you want to use. Remember that 'To Be Saved' is the number of Lemmings, not a percentage.
![]()
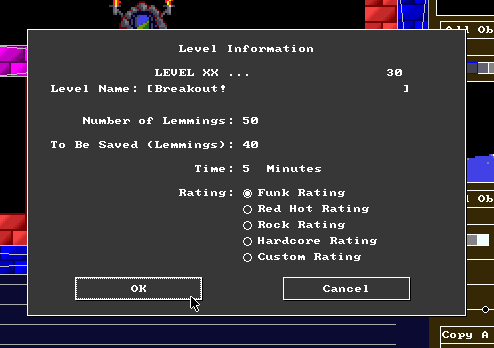
We're done! Now save! You can download the finished level from here.
How do I combine this level with Lemmings DS using the Lemmings DS Custom Level Organiser Utility?
First, run the Lemmings DS Custom Level Organiser Utility.
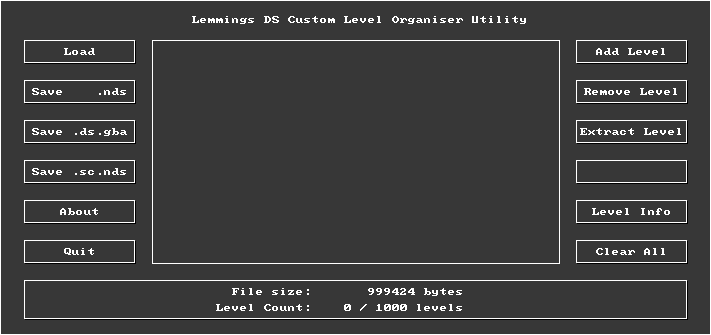
To add levels, click Add Level on the right. Then find the level that we made. When you've found it, click OK, and it should appear in the list.
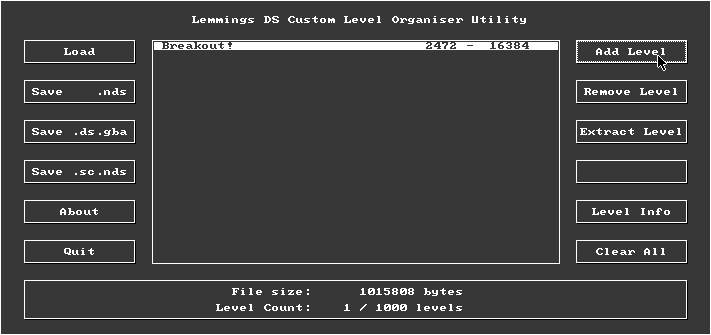
I'm going to run this on my GBA flashcart, so I'm going to combine a .ds.gba ROM. Simply click on Save .ds.gba, choose the location to save the file, then click OK.

After that, simply upload the game to your flashcart. (You should look up how to write Nintendo DS homebrew for your specific cart. Don't ask me about this.)
Turn on your DS, and it should happily report that the new level has been detected. It should appear in the custom level list, so give it a shot! Let's go!